


- React The Popular UI Library written Based JS Used To Create Modular and composable Components
- The UI can be divided into much smaller components and can be reusable
- React has Several Files & Folder structure looks like this.

But at the end there will be single script file and index.html which will be run
- When You run and get Build Version there will be index.html and script.js
To Start Development in React Project A Lot of configuration work has to be done before you build anything This is the most painful task setting up react
Here Comes create-react-app
create react app is the environment which will do all the configurations for react app in one command
Let's do without CRA
Before moving we have to know some prerequisites for setting up react app
I will tell you brief about them
Webpack: To run a web app we need one html and one js file right ? so while building in react we have several files which many people work on individual feature,component it has many files so webpack take these files and bundle them together to single js file with alot of optimizations.
- In the app we use css files,svg,images js engine understands only javascript not these files so webpack plugins transform these files into native javascript.
Babel : The Transpiler,As translator translates from one language to another similarly babel (the Transpiler) translates from one language to another Example :
- es6 features is not supported by old browsers they underastnad only old es5 or before that this problem will be solved by babel i transpiles es6 to older syntax so that your code can run every browsers
“nullish coalescing operator”
??has introduced in the year 2020 now browser does'nt know this syntax and this will treat as error this issue is solved by using babel it converts this operator to traditional ternary operatorAs browsers know only javascript not typescript this typescript code to javascript then browser friendly code
Typescript --> Javascript --> Browser understandable code
Modules : Modules are nothing but small individual files containing piece of code this small modules can be bundled together, this makes code readable and maintainable
#1 Create folder and initialize npm
mkdir react-without-cra
cd react-without-cra
npm init -y
#2 Install React and Webpack Packages
npm install react react-dom webpack webpack-cli webpack-dev-server --save-dev
npm i --save-dev babel-loader @babel/preset-env @babel/core
@babel/plugin-transform-runtime
@babel/preset-react
babel-eslint
@babel/runtime
@babel/cli
- React,ReactDom : React packages where the actual logic of library lies here
- webpack : To make bundle all files into one script
- webpack Cli : To run commands through cli
WebPack Dev Server : This is used for development purposes to create a feature and save the server will refresh page applying the changes
babel-loader — allows transpiling JavaScript files using babel and webpack. exposes a loader-builder utility that allows users to add custom handling of Babel’s configuration for each file that it processes.
- @babel/preset-env — allows you to use the latest JavaScript without needing to micromanage which syntax transforms (and optionally, browser polyfills) are needed by your target environment(s). This both makes your life easier and JavaScript bundles smaller!
- @babel/core — Babel's core package
- @babel/plugin-transform-runtime — A plugin that enables the re-use of Babel’s injected helper code to save on codesize.
- @babel/preset-react — It has a group of plugin's used to parse certain react syntax such as jsx,adding react createClass displayName ...etc
#3 Create index.js,index.html file
create index.html,index.js file & paste the below codes
index.html
<!DOCTYPE html>
<html lang="en">
  <head>
    <meta charset="utf-8" />
    <meta name="viewport" content="width=device-width, initial-scale=1" />
    <title>React App</title>
  </head>
  <body>
    <noscript>You need to enable JavaScript to run this app.</noscript>
    <div id="root"></div>
  </body>
</html>
index.js
import React from "react";
import ReactDOM from "react-dom";

ReactDOM.render(<h1>Hello World</h1>, document.getElementById("root"));
#4 Webpack Config
- Now we have to configure webpack as we know that webpack is a bundler it bundles all the files in to one js file including media assets,svg...
- In the webpack config file you have to specify some rules to modules the rules are an array which you can specify as below
 {
        test: /\.?js$/,
        exclude: /node_modules/,
        use: {
          loader: "babel-loader",
          options: {
            presets: ["@babel/preset-env", "@babel/preset-react"],
          },
        },
      },
- The test represents the file extension you want to bundle
- exclude key is to exempt the file while compiling/bundling
- use object has mainly two key,values loader & options
- loader is the transformation applied to files you can make such as transform the css,typescript file to js (Remember browser only understands javascript)
- options object provides options have presents array which provides plugin's to use for transforming the code
- The mode here is the environment you want here it is development because we are developing this project when you deploy change to production
- Production size will be very much compressed & optimized
- While Development keep development mode only not production
Plugins
- Plugin's are the JavaScript object which are used after the bundling process completed
- The htmlWebpack plug in add in config is used to generate a entry index.html file which contains the scripts generated by webpack bundler
 plugins: [
    new HtmlWebpackPlugin({
      template: path.join(__dirname, "src", "index.html"),
    }),
  ],
**OverAll webpack.config.js file looks like this
const path = require("path");
const HtmlWebpackPlugin = require("html-webpack-plugin");

module.exports = {
  mode: "development",
  entry: path.join(__dirname, "src", "index.js"),
  output: {
    path: path.resolve(__dirname, "dist"),
  },
  module: {
    rules: [
      {
        test: /\.?js$/,
        exclude: /node_modules/,
        use: {
          loader: "babel-loader",
          options: {
            presets: ["@babel/preset-env", "@babel/preset-react"],
          },
        },
      },
    ],
  },
  plugins: [
    new HtmlWebpackPlugin({
      template: path.join(__dirname, "src", "index.html"),
    }),
  ],
};
#5 Run The Project
- Run npm run dev to start the project
- In the browser got to localhost:8080
The Output screen looks like this
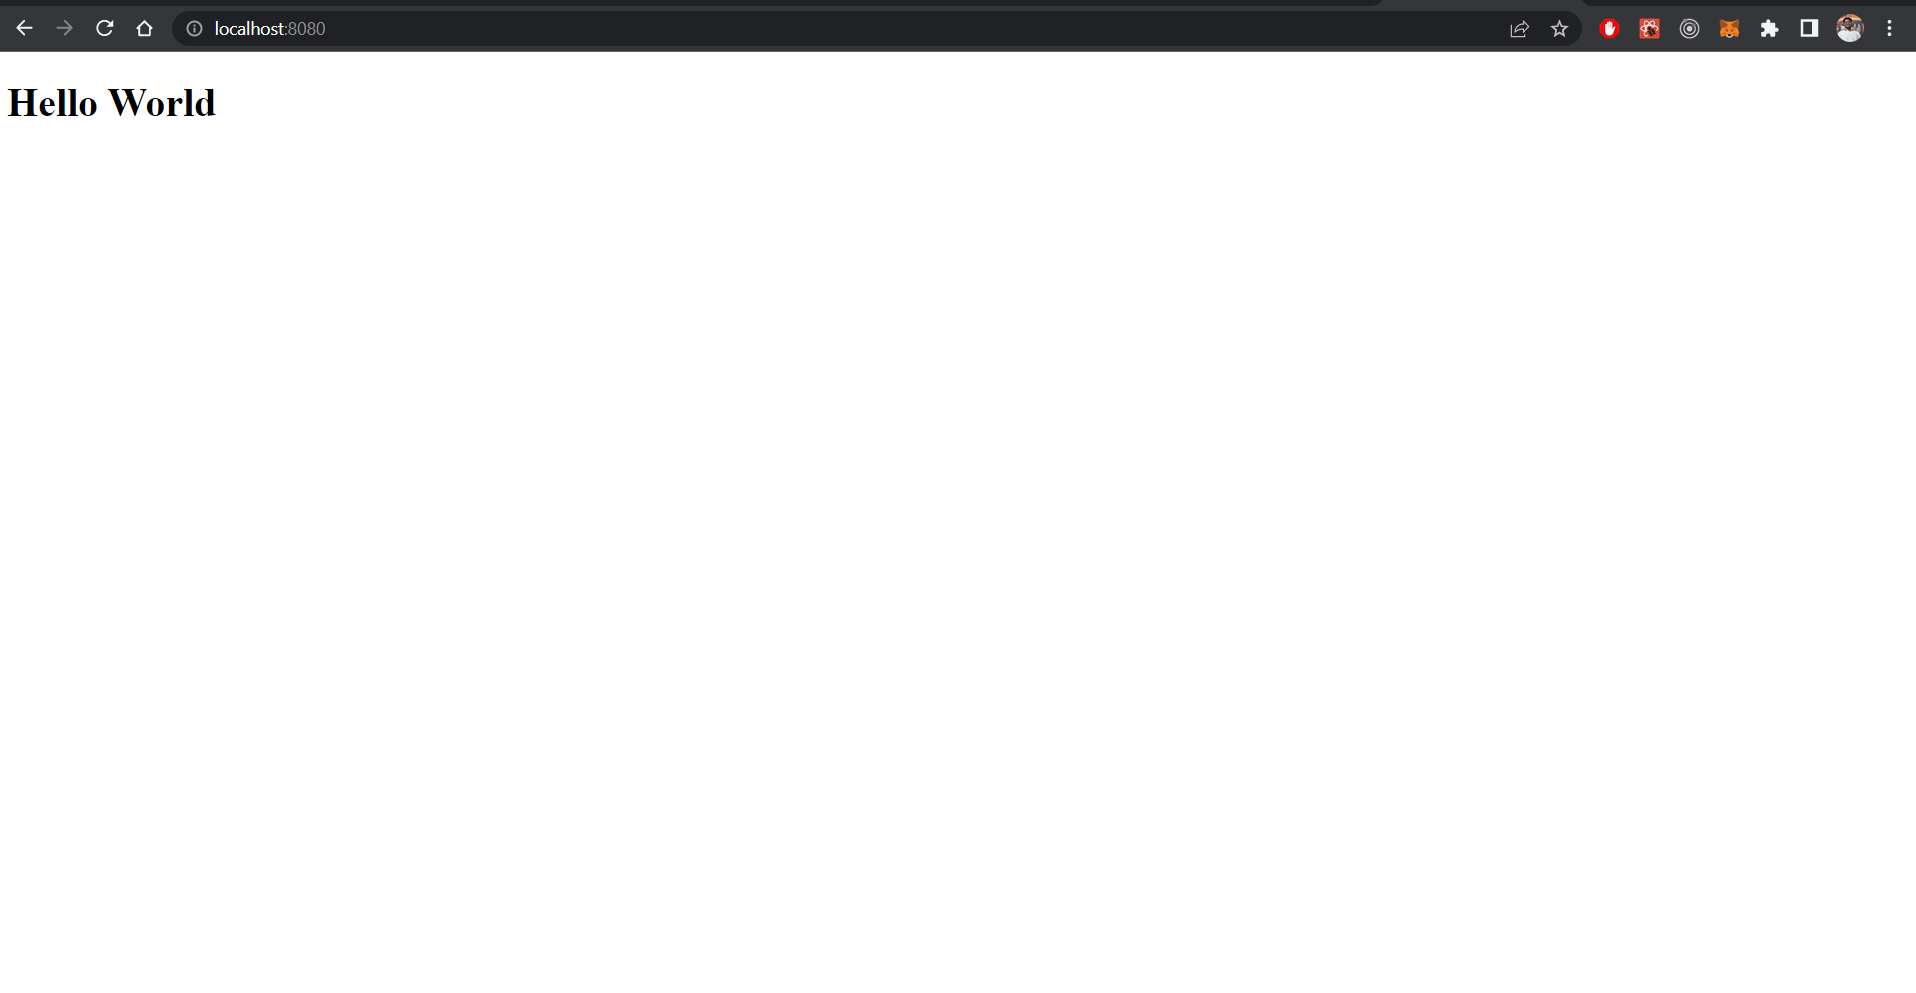
This is just the basic getting started project you have to add css loaders,typescript plugins as you start development in the project